Contents » Recipe : Tips : Variations : Inspiration : Resources
With my kids at home full time at the moment, it was time to crack out my easy no-cook playdough recipe.

Now, I know this is not technically something you’d want to eat, but it sure as heck will make you feel better once it gives your kids something to do!
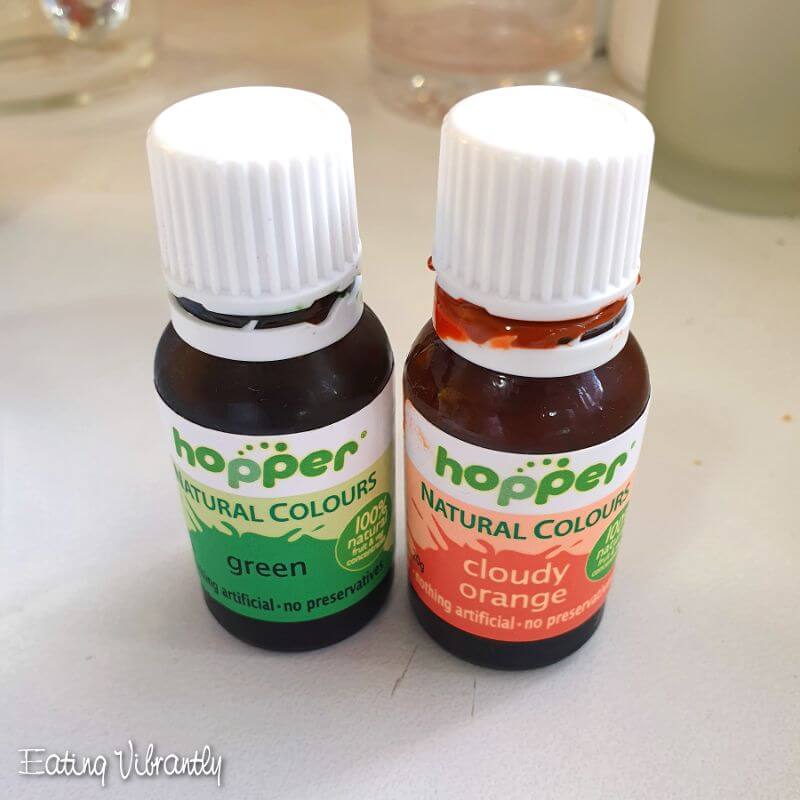
I’ve made this homemade playdough recipe healthier than the usual playdough recipes, by using natural food colours and some lavender essential oil.
So instead of getting hyped up by synthetic dyes (i.e. from the popular koolaid playdough recipes) that soak into their hands while they play, they get soothed by the smell of lavender.
And as a bonus, the lavender also keeps the playdough – and your kids – fresher for longer, by discouraging germs.
I love that this easy homemade playdough doesn’t even require a hot stove or any kind of cooking.

Just a bowl, some simple ingredients that you’ll probably have lying around the house, and some elbow grease.
And creates a wonderfully smooth, easy to mould playdough that just itches to be shaped and poked and squished and crushed and sculpted and chopped…
And it will keep your kids entertained for hours.
Homemade No-Cook Playdough Recipe
Make sure to read through the tips below to get the most out of this super easy no-cook playdough recipe.

Easy Homemade No-Cook Playdough
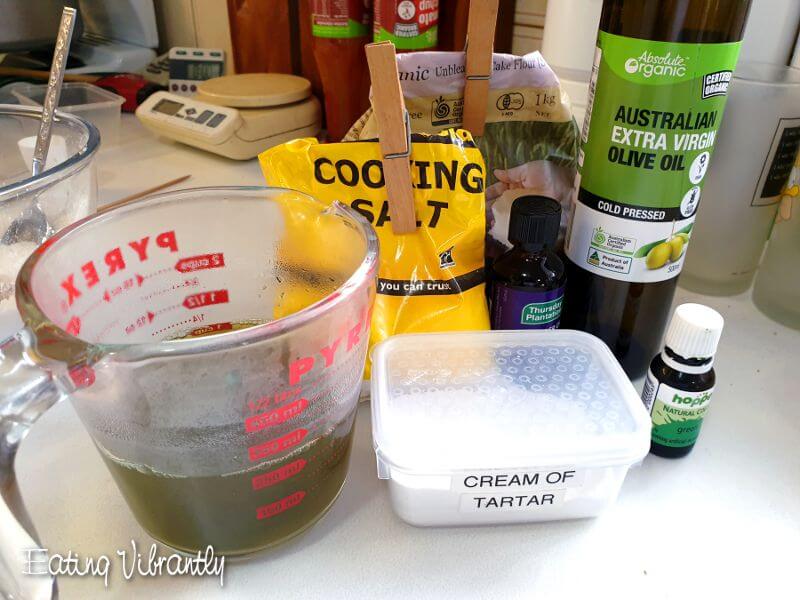
Ingredients
Method
- Mix the dry ingredients in a large mixing bowl.
- Add the olive oil and essential oil, and then the boiling water.
- Begin to mix the ingredients together, and then add your natural food colouring.
- Stir thoroughly until the playdough ingredients are completely mixed.
- Once the playdough is mixed well enough not to be too sticky, you can dump it out onto the kitchen step and knead it until it’s smooth and ready to use.
- Store in an air-tight container for up to 6 months.
Preparation
- Before: -
- During: 5 mins
- After: -
- Need: Bowl, spoon
Tips for making homemade playdough
- I generally use whatever wheat flour I have lying around the kitchen. I don’t use wheat flour very often so I had some old stone-ground wheat flour that I used up and it worked perfectly for my latest batch, but any wheat flour will work just fine.
- If you want to make this recipe gluten-free, you should be able to use your favourite gluten-free flour mix instead of the wheat flour. You’ll need to adjust the amount of water, and the playdough won’t be quite as smooth or pliable and may crumble more without the gluten, but it will certainly do the job.
- The salt serves a double-purpose in this recipe. Firstly, it makes the playdough taste awful, which discourages your kids from eating it, which is especially important if you also use the lavender essential oil. And secondly, it helps to preserve the playdough, making it harder for germs to grow in it, so it lasts for much longer.
- I use cheap table salt to make my playdough, because that’s what I’m willing to use in such large quantities for something that doesn’t actually get eaten. But if you want to use your good cooking salt, that’s also totally fine. Using pink himalayan salt will make the playdough even healthier and apparently gives it a lovely pink tinge.
- If you want to leave the salt out altogether, that’s totally fine. You actually don’t need the salt at all, although you will need to reduce the water to create the right texture in your final playdough mix.
- The tartaric acid (or cream of tartar / potassium bitartrate) helps to stabilise the playdough and also preserve it, and affects the texture of the playdough. It’s a substance naturally found in plants, that’s formed during the winemaking process, and is one of the main ingredients in baking powder, so it’s non-toxic.
- If you want to leave out the cream of tartar entirely, you can use an alternative natural plant-based acid such as lemon juice or vinegar.
- The oil in the playdough helps to make the playdough smooth, to lubricate it so that it slides across itself and your hands easily, and to help keep it moist without being sticky.
- I use olive oil in my playdough because that’s my main cooking oil of choice, and the only liquid one that I have sitting around in my kitchen typically. I do also have coconut oil, which would set once the dough cooled, and warm up as the dough was played with, so that could be fun to try.
- You can use any liquid cooking oil that you have on hand. If you find that your dough is a bit dry or stiff, you can add extra oil to help it move more easily. But don’t use too much or your kids hands will end up greasy.
- I added the lavender essential oil to make the dough smell nice, to keep the germ levels down in the playdough, and also to help calm my kids as they play.
- If you expect your kids to eat your playdough, then it’s probably best to leave out the essential oils from your playdough (and the salt), as they’re not intended for internal use and could make your kids sick if they eat it (trust me, we learned this one the hard way!)
- Using boiling water helps the ingredients come together, without having to cook the playdough on the stovetop. Just be careful if your kids are working with boiling water to ensure they don’t burn themselves.
- If your playdough is too dry, try adding a little more water. And if it’s too sticky, add a little more flour, until the consistency is smooth and dry without being stiff or crumbly.
- Make sure you add your natural food colouring in the early stages of mixing, while the dough is still easier to mix. I tried adding mine to the boiling water, but found that some of them were degraded by the boiling water, and they worked better if I added them to the playdough mixture. If you’re using regular food colouring, you’re probably best off adding it to the water to ensure a good even colour.
- If you use a lot of natural colouring to make a strong colour, you may find that it comes off on your kids’ hands. This is perfectly safe, but just keep an eye on it to avoid stains on your furnishings or hand towels.
- Be sure to store your playdough in air-tight containers to help it stay fresh for longer. Once it dries out, it’s not nearly as much fun to play with. It will break down in the compost, so it’s very safe to dispose of in with your general food scraps.
Playdough recipe variations
You can use these variations to suit your playdough to your needs.
- If you want to make an edible playdough, leave out the essential oils and salt. And add pleasant-tasking spices, such as cinnamon, or cacao to colour and flavour the playdough. The playdough won’t last as long but it won’t make them especially ill if they eat it either.
- If you want to use more natural colours for your playdough, try powdered greens (spirulina, chlorella, spinach, kale, etc), turmeric (yellow), cacao powder (brown), beetroot juice (red), tomato powder (red), berry juices (pink & purple). You’ll need to use more of these natural colourings to get a strong, deep colour.
Ideas for playdough tools
I didn’t feel like buying on expensive gadgets to go with my homemade playdough, so I got creative with things from around my kitchen and house to use.
Here’s some ideas for easy and inexpensive playdough tools:
- Garlic press: This makes amazing playdough worms / hair / spaghetti.
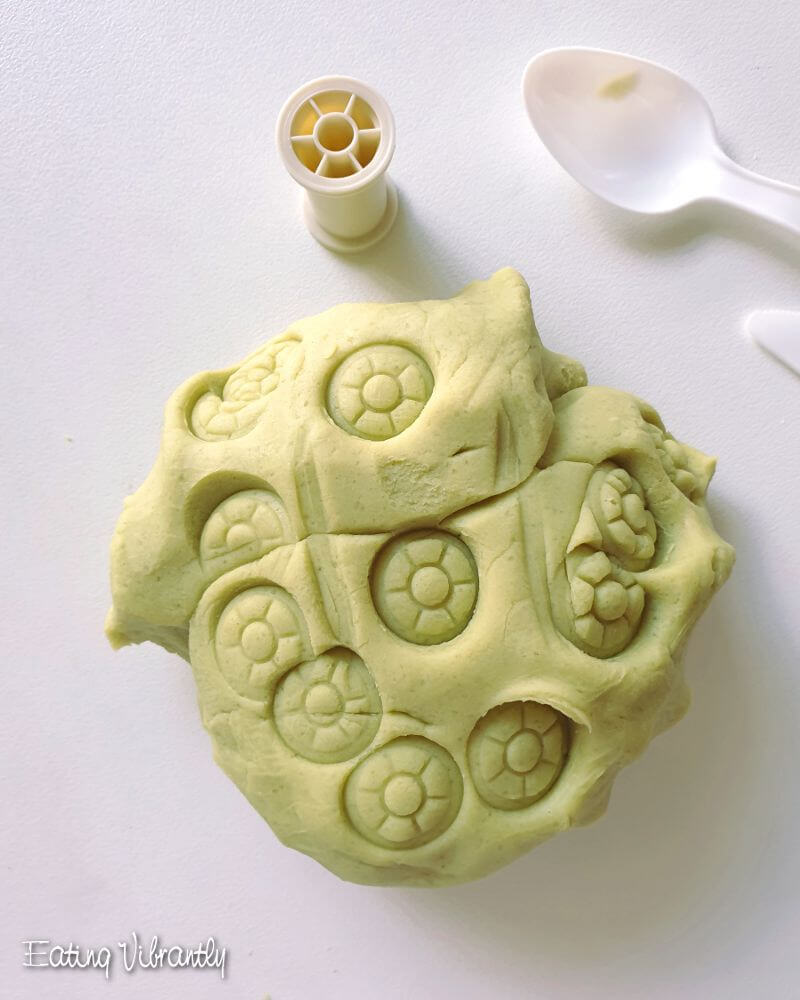
- Cotton reel: These are great for making patterns in and squishing playdough through.
- Cutlery: Small spoons, forks and table knives are great for chopping, poking and generally experimenting with playdough.
- Chopsticks: These are great for making eyes, sculpting and drawing in playdough.
- Egg cups: These make great playdough holders and scoops. Just make sure your kids know the playdough is not for eating.
- Spatulas: These are great for chopping and smoothing over playdough, as well as scraping it off the table top.
- Unusual shaped objects: Powerpoint safety plug, a fly swat (might get broken)
Basically, you can use anything that’s an interesting shape that you don’t mind getting playdough on and that can be easily washed afterwards. The possibilities are quite limitless!

My inspiration for making homemade no-cook playdough
I’ve been making playdough for years to keep my kids hands and brains occupied, especially on school holidays.
This is my fallback recipe that I always go to when I want to make playdough and works very reliably.
I’m not sure where I found the original recipe, but I do know that it’s very similar to many classic playdough recipes that you may have seen elsewhere.
It’s evolved a little over the years, as I’ve tried making it gluten-free, adding the essential oils and using natural colourings.
I also used to make it as a cooked playdough, but I didn’t like having to use the stovetop to do it, so I love that this is now a fully no-cook recipe.
And of course, most recently, I cracked out this recipe again when I found myself at home with my kids full-time over the extended school holidays and needed to find ways to keep them busy.
It seemed to work.

Resources for homemade no-cook playdough
If you want to understand the different between tartaric acid and cream of tatar, here’s a great explanation:
- Tartaric Acid Vs. Cream of Tartar at Leaf.tv
To understand the science behind playdough, check out this article:
- The science behind playdough.. @ The Pedagogy Princess
And to turn making playdough into a science lesson at home, here’s some great suggestions to get your kids thinking:
- Ready, Set, Let’s Dough! It’s a Matter of System @ Science Net Links
And have a creative day!